Link to the source code, schematic, layout, and BOM can be found at this project’s Github page: https://github.com/Carrigan/USBBusinessCard.
Introduction
Since there is already a write-up on why and how I made the business card project, this post will only detail the changes made since the first version. If you would like more information on how this project was made and how it works, please visit the original write-up.
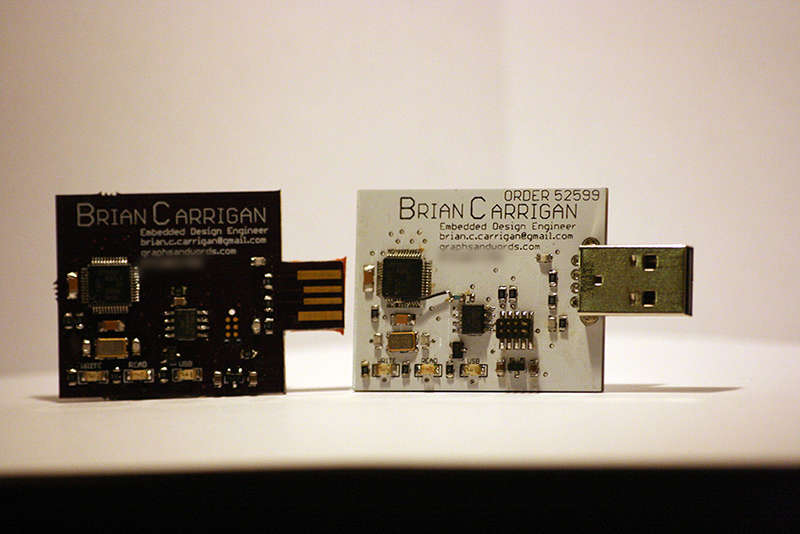
The initial USB business card was a success in the fact that it worked as a functioning mass storage device in a business card form factor. However, it had a few minor problems which were discussed in the first article, as well as some areas that I thought could use improvement.
Changelog
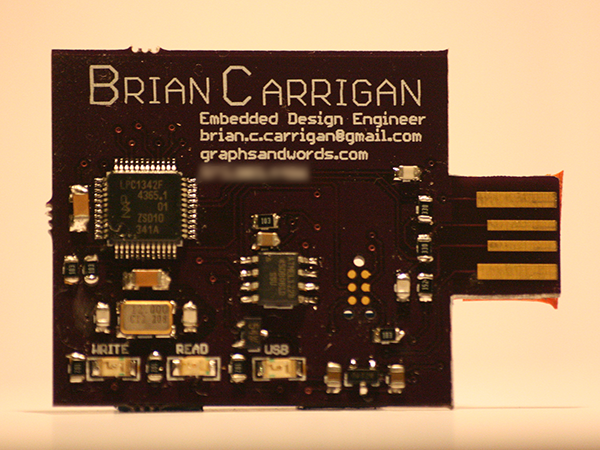
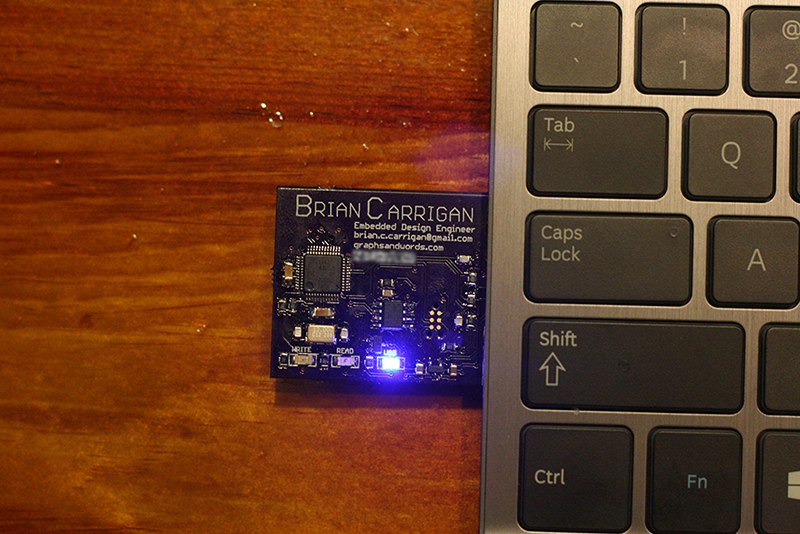
The first and probably most obvious change is that the Molex USB connector was replaced by a few exposed traces on the circuit-board itself. I was against doing this in the original board because of the low quality finish on the boards I was buying. In addition, I had contacted a company which makes a USB connector directly on board to ask about the board thickness they use and was told that a snug fit requires a 2.4mm thick board. It is difficult to find inexpensive 2.0mm boards, let along 2.4mm. Since the board house I used for this batch was a higher quality board though, I decided to try the on-board connector and just use some thickening material on the back to make up for the thickness. I’m currently using three strips of electrical tape on the back of the boards and am happy to report that they have fit every USB port that I’ve tried them on.
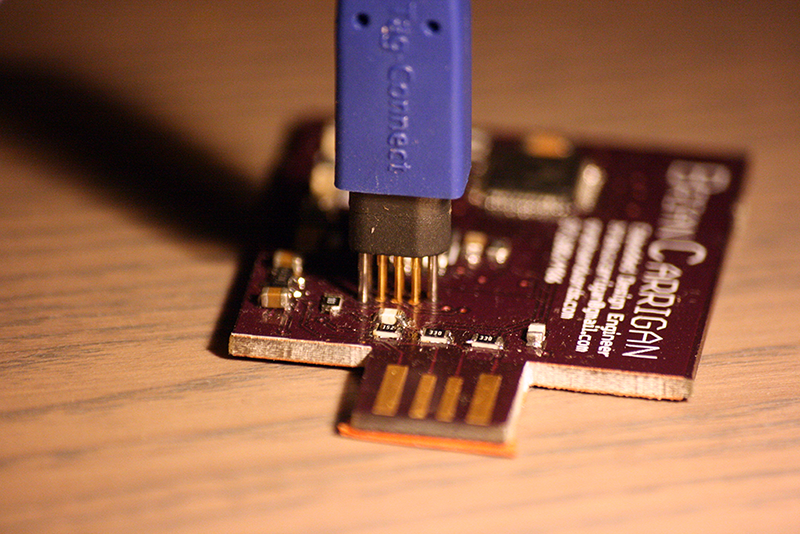
Traditionally, the Cortex M3 uses a 10 pin .05″ pitch connector for programming and debugging. This connector can be seen on the original board- it was by far the tallest component on the board. If somebody received this business card, they might be weary about actually putting it in their pocket since the sharp pins could scratch or tear at clothing. While browsing Dangerous Prototypes one day, I stumbled upon a connector-less programming port which had a Cortex SWD flavor, and decided to try it. Using the legless connector allows for very quick programming with a secure connection, and it uses even less board real estate. I would only recommend using this type of connector for proven boards though since you have to hold the pins in place manually while programming or debugging.
Finally, a few minor connection changes were made. In the previous version, you can see a jumper going from one of the resistors to a pin on the microcontroller. I did not fully read the datasheet the first time through, and thus didn’t notice that there was a pin which was sampled at boot-up to determine if the micro would go into an In System Programming (ISP) routine. Because this pin was floating in the original, the micro would boot up into a USB bootloader every time instead of running the program I loaded onto it. A simple pull-up resistor in the new version solves this.
While this project works exactly as intended now, I’m not sure that I want to call it finished yet. The problem is that while this is a nice novelty card, it loses its value to the owner after they have used it since 1MB flash drives aren’t exactly cutting edge technology. I made a smaller project that I didn’t do a write-up on that used the LPC1343 to emulate a keyboard. This keyboard project would randomly send out a caps lock keypress roughly once every two minutes, and then a second caps lock press within a second of the first. The idea was that you plug this device into a friend or coworker’s computer, and they get frustrated with random capitalizations that happen infrequently enough that they wouldn’t expect foul play. In order to integrate this into the next business card, all that would have to be added is a switch or pushbutton that can be sampled on power-up to determine what the board should emulate. I’ve got enough of the current batch to last a while, but look for these in the future.
I hope that this post helps you in whatever USB adventures you go on- I’ve had several people email me saying that they’ve made their own versions since the first post went live. Please let me know if you make (or need help making) your own!